|
| Gluten Free Chocolate Zucchini Loaf |

I found a delicious looking recipe for double chocolate zucchini loaf on the King Arthur Flour website (original recipe here). It wasn't gluten free or anything, but it inspired me to try my very first zucchini loaf. While most gf loaves tend to fall in the centre, this one held its form perfectly and tasted even better than I expected! It has 2 whole cups of grated zucchini, which is a total bonus since it tasted like chocolate cake. I only put in 1/2 cup chocolate chips (original recipe called for a cup) and my husband said I should put less in unless I was planning to call it chocolate cake... then he proceeded to eat at least half of the loaf throughout the rest of the day. hehe.

I use my light flour blend, but you might be able to substitute other blends. I think the combination of rice, millet and tapioca starch gives the best texture to muffins and cakes.
This is a great way to use up zucchini from your garden or to take advantage of the low prices on zucchini this time of year. Enjoy!
(makes 1 medium sized loaf)
Ingredients
1/2 cup Brown Sugar (or 1/4 cup if you want it less sweet)
1/4 cup White Sugar
1 2/3 cups GF flour blend (my light flour blend works best)
1/2 tsp Salt
1 tsp Baking Soda
1 1/2 tsp Baking Powder
1/3 cup Cocoa Powder
2 Eggs
1/2 cup Canola Oil
1 tsp Vanilla Extract
2 cups Shredded Zucchini (don't peel, but do remove some of the middle seeded part)
1/2 cup Chocolate Chips (omit or use 1/4 cup if you want it less sweet)
Directions
Combine first 7 ingredients and mix well.
In a small bowl, beat eggs, canola oil and vanilla together.
Cut zucchini in to quarters lengthwise then cut off the part with the seeds (if some remain that's ok)
Grate 2 cups of zucchini (press down a bit in measuring cup to make sure it's full) - about 1 med-large zucchini worth
Add egg mixture to dry and mix until just combined.
Add zucchini and chocolate chips. Mix until just combined.
Pour mixture in to a greased loaf pan (preferably non-stick)
Bake at 350 for 70-75 minutes. Unless it's burning, I wouldn't cook it any less than 70 minutes or it's more likely to fall in the middle.
When done, let loaf cool in the pan for 10 minutes, then transfer to wire rack to cool completely (you may need to run a knife around the inside edge of the loaf to get it out of the pan)
It's easier to cut once completely cool, but if you're like me and can't wait that long, just be careful!
This loaf stores well at room temperature in an airtight container, or you can freeze slices for a late night chocolate craving attack!
 |
| Before Baking |
 |
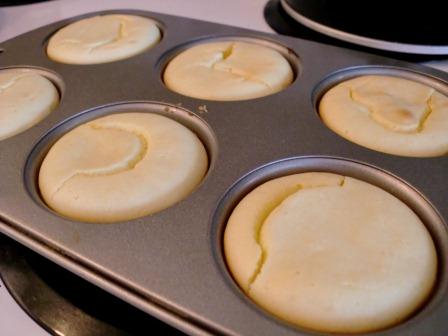
| After Baking |
 |
| Cool on a wire rack |
 |
| Slice and enjoy! |